| Bodywork Pictures |
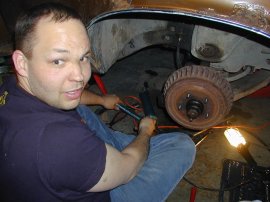
Brandon looses my 1/2 drive 9/16" socket in the frame while tighten up the idler arm, no idea what Kyle is thinking but with a piece of steel, I was able to fish it out.
|
|
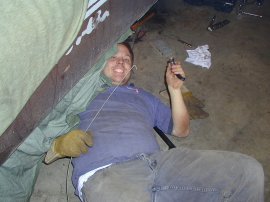
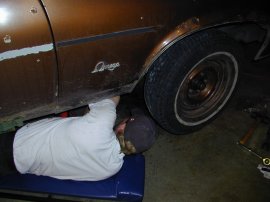
So the Tie Rods are replaced, new idler arm is installed. Everything is looking good and the front end feels ALOT tighter then it did before. Kyle takes a moment to grease up the front-end.
Note to self: Still seems to be leaking oil, gonna need to do a good engine cleaning so I can find out where it's coming from.  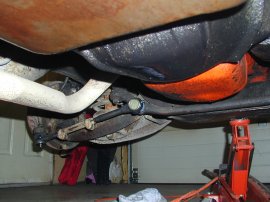 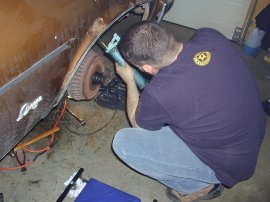
|
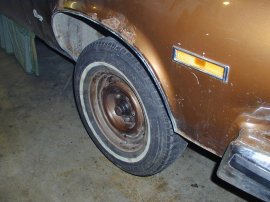
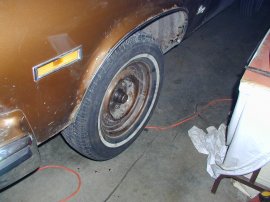
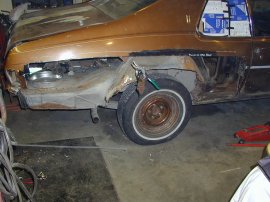
Hmm, both wheels seem to be facing in abit ... Brandon takes a moment to do an eyeball-alignment.
|
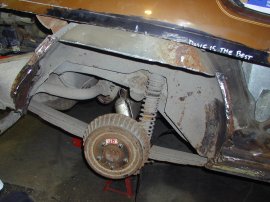
| Altho fixing up the front-end isn't really related to the 'Bodywork', it is related to the work this car needs to get it on the road. |
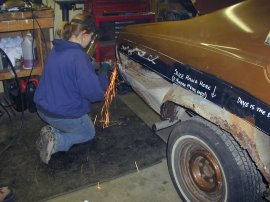
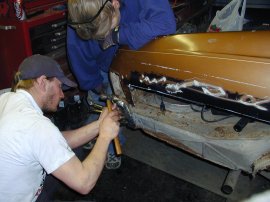
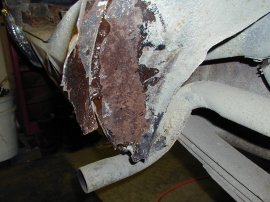
Shelly & Brandon get to work on making that tail-quarter panel patch piece.
|
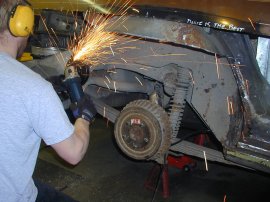
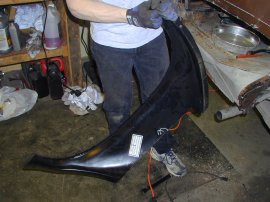
We begin to start seperating the wheel wells when we all decided to call it a night at 2am. 12 hours for Shelly & Brandon, and 15 for me was enough, we were tired.
|
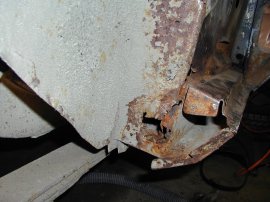
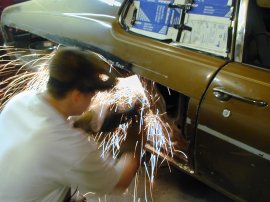
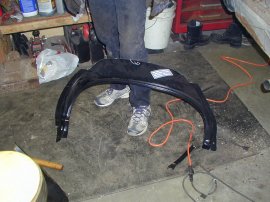
So we make our cut on the old wheel well, and with what we cut off, we make a mark on the new wheel well of where we had made the cut on the car. Now we're cleaning up the sides where the new well will be attached too.
|
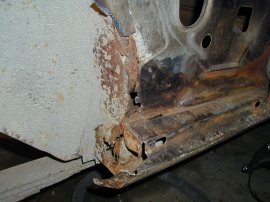
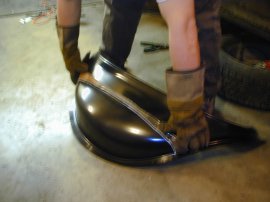
From where we marked the new well, we cut 4" above that line, to give us some extra material to overlap, and again ... it's easier to cut 2 or 3 times and cheaper then if we cut too short and either have to replace the well or make up another patch piece.
|
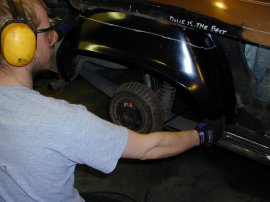
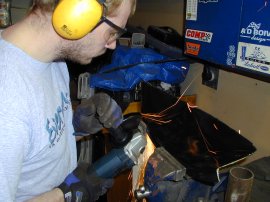
Test fitted the new well to the car and PERFECT, altho we have lotsa of overlapping material, we are atleast able to get it on the car to make more precise markings for later cutting/trimming. With the leftover top piece of the wheel well, like we did with the drivers side, we end up using it to makeup much needed patch pieces. HEY!, do you think we got our money's worth out of this cutting disc?
|
|
|
|


| Back to Pictures 2006 Menu |
|---|