| 355 Rebuild - Disassembly |
|
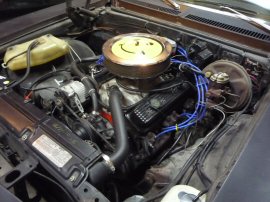
Our last outing to Gimli back in Sept 2010, at the end of a run I could feel the car wasn't right and I could hear what I thought was a knocking noise.
As I may my way back to the Pit area, you could hear a low-end rattle or 'RRRRRRRRrrrrrrrrrr' like sound, then a knocking noise at idle. NOT GOOD! Big Thanks to Justin Dorosh who came out from Winnipeg to tow us home, and helped in the disassembling of the 355 to see what went wrong. WARNING: The following section houses A TON of pictures, as I have been very good and taking pictures at every possible step .... Hope you have alot of time !!! |
|
|
|


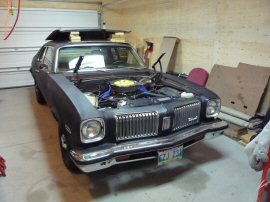
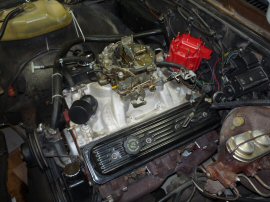
Get the car all setup in the garage, pull off the hood.
|
|
We start by disconnected the battery. While we start draining the coolant system, which I quickly fashioned up a funnel made from 591ml pop-bottle. I wanted to keep out the dirt from the coolant running on the subframe.
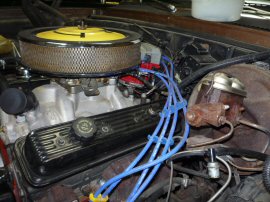
Next we untie the fan shroud from the rad cradle and remove the belts, then the electric fan aassembly. Pulled off the alternator too, just makes it easily to take off the bottom rad hose. Take off the top rad hose, and use a spraypaint can lid to plug the temp. housing. Pull out the rad, wrap it in cardboard and place in the trunk where its out of the way. 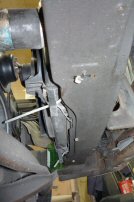 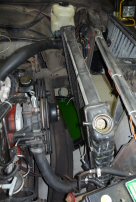 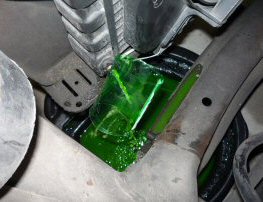 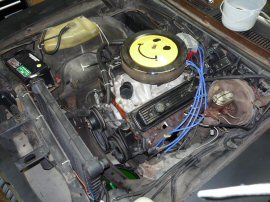
|
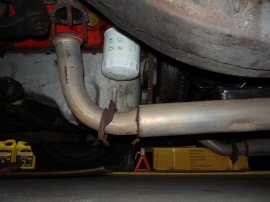
Take off the sparkplug wires, drain the oil and unbolting the exhaust pipes from the manifolds.
|
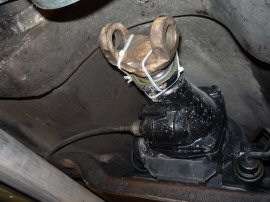
Pull out/off the driveshaft, tape up the end to keep it free from dirt and use another drive shaft end to plug the transmission.
|
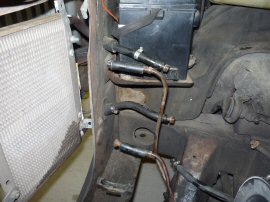
Disconnect linkages, transmission coolant lines and tie up the powersteering pump out of the way.
|
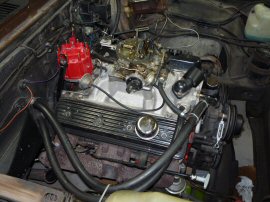
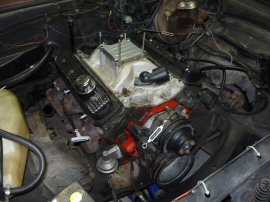
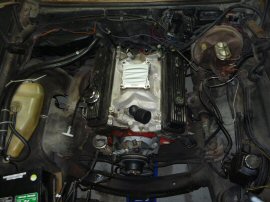
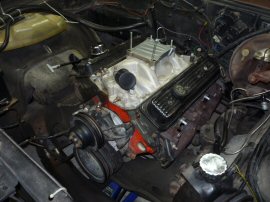
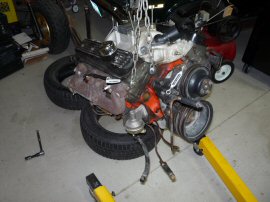
Engine is pretty bare, everything disconnected/unbolted ... time to PULL! NOW the fun begins !!
|
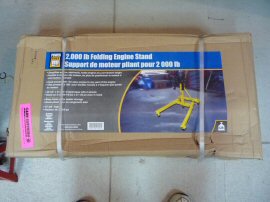
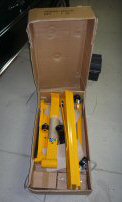
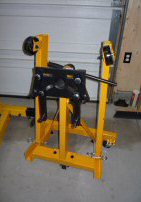
Damn it!, where's my engine stand ... oh yeah, I have a 350 sitting on it. Went out to Princess Auto and bought a nice folding engine stand. Piece it all together, assemble the Engine Jack and we're ready to go!
|
|
My dad comes over to lend me a hand ... (Smile Dad! *FLASH)
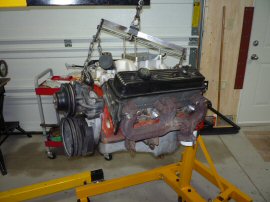
Engine and transmission are pulled together. I just find it easier to pull both instead of the engine alone. 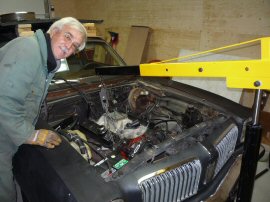 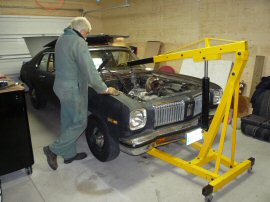 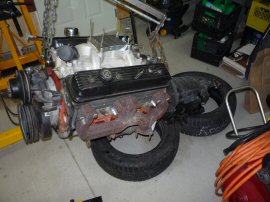
|
Engine and Transmission are out, and need to be split up.
|
|
Dad gets the block bolted to the engine stand.
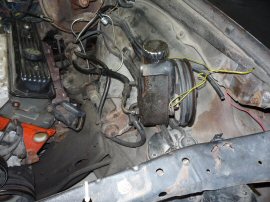
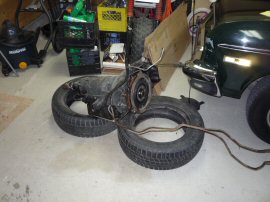
An empty engine bay and the one thing that drives me nuts is the mess of wiring. 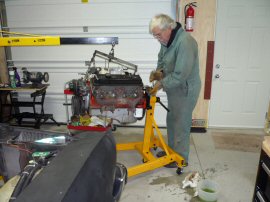 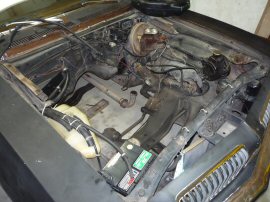 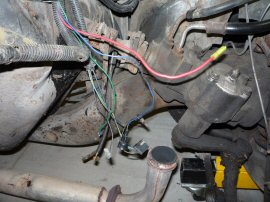
|
|
I take a moment to clean up the wiring. The original wiring is for an inline 6. I shorten up some of the wires, clean up connections and run them thru some wire loom.
Justin arrives later on and we begin to take apart the engine. 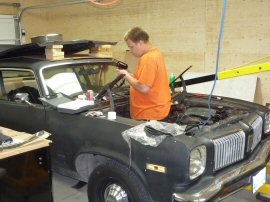 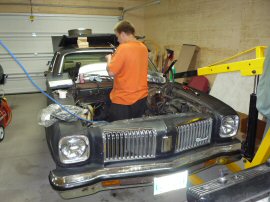 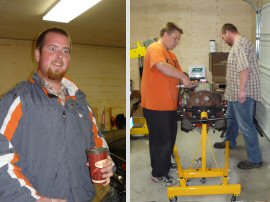
|
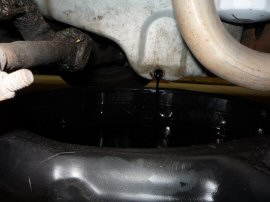
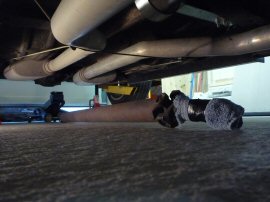
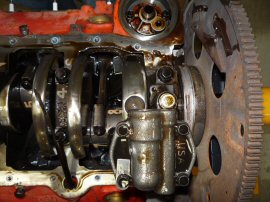
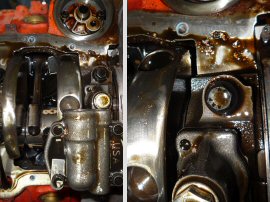
We start right away with the bottom end. Upon removing the Oil Pan, we discover ALOT of debris all over the bottom end. Looks like Bearing material and it's ALL OVER the bottom end.
|
|
As the bottom end is pulled apart, we begin with 5 & 6 as there seems to be some play on these rods. Justin inspects the bearings and as my Dad looks on.
The last 2 pictures on the right show the wear on both the rod bearings and main bearing. 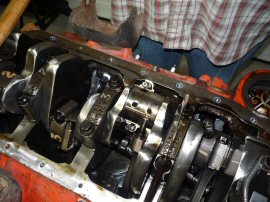 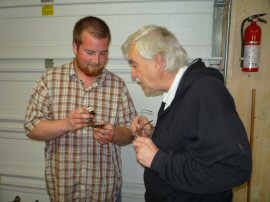 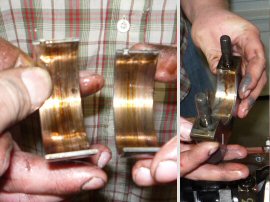
|
|
|
|
| Back to Pictures 2010 Menu / Story Section |
|---|